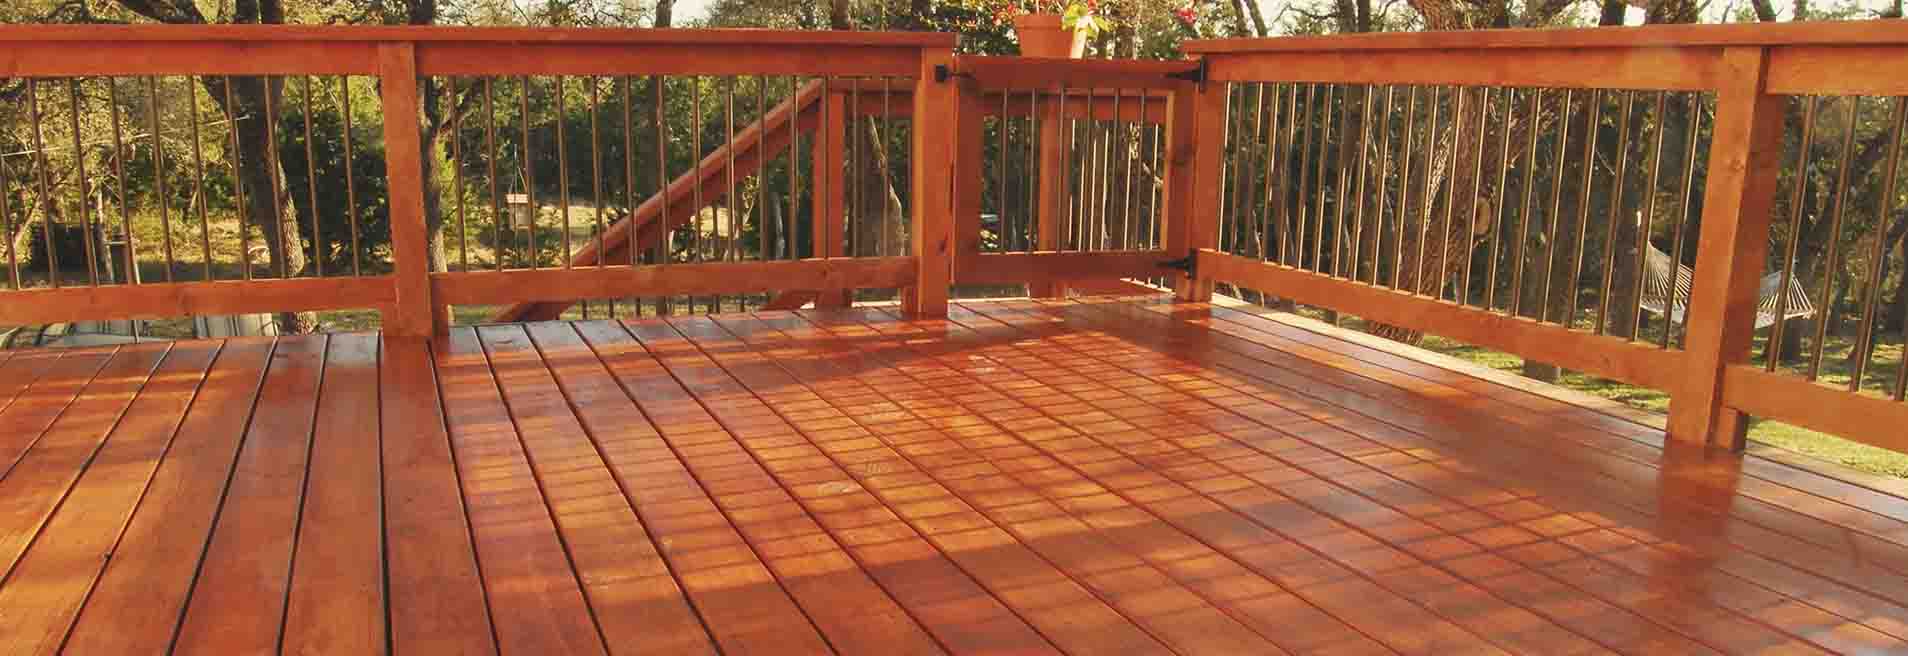
How to Power Wash a Deck: A Professional Guide
If your deck has been looking worse for wear over the past few seasons, it may be time to give it some TLC with a power wash. Don’t worry – you don’t have to hire professionals to do the job! With this DIY guide, you’ll learn everything you need about how to effectively power wash a deck safely and efficiently. Whether you are new to do-it-yourself projects or an experienced pro, we have broken down each step extensively so that anybody can easily get the job done right. So take a deep breath – and let’s get started on transforming your backyard oasis into its former glory!
Choose the Right Power Washer for Your Deck
When it comes to power washing your deck, choosing the right machine is essential. The size of your deck and the type of power washer you use will directly affect the level of clean you achieve. As you evaluate your options, consider both gas and electric models, as each has its own strengths and limitations. Additionally, take into account the pressure and flow rate of each machine, ensuring that you select one that can effectively remove dirt and grime from your deck. By taking the time to research and select the right power washer, you’ll be able to restore your deck to its original beauty with ease.
Prepare the Deck for Power Washing
Before power washing your deck, it’s important to prepare the space to ensure a successful and efficient job. One key step is removing any furniture, debris, or plants that may get in the way during the process. Not only can these items obstruct your view, but they can also pose a hazard for whoever is doing the power washing. By taking the time to clear the deck beforehand, you can make the job much easier and safer overall. So grab a friend and start moving those chairs, plants, and other items out of the way – your sparkling clean deck will thank you later!
Choose a Detergent that is Suitable for Wood
Choosing the right detergent is crucial to the success of your power washing project. It’s important to select a detergent specifically designed for outdoor wood surfaces. These detergents are formulated to lift and remove stubborn dirt, grime, and mildew without damaging the wood. Also, they often contain ingredients that help to protect the wood from the elements, thus prolonging the life of your deck. Read product labels thoroughly and opt for biodegradable, non-toxic options for an eco-friendly choice. Remember, a little goes a long way, so use the instructed amount and avoid over-saturation, which could potentially harm the wood.
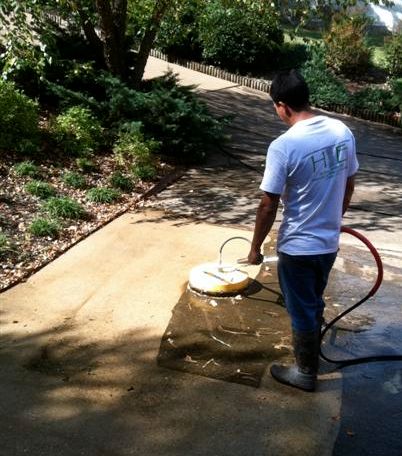
Begin Power Washing in Small Sections
Starting the power washing process might seem challenging, but the key is to work in manageable sections. Begin at one end of your deck and work your way across, focusing on a small area at a time. This strategy will ensure you don’t miss any spots and give you a chance to pay close attention to the level of cleanliness in each area. Make sure not to overlap areas- over-washing can lead to wear on your deck’s surface. Hold the power washer’s nozzle at a consistent distance from the deck to maintain even pressure and remember to keep the nozzle moving to avoid damage to the wood. By methodically working your way across the deck, you will soon see your deck start to shine like new.
Rinse Away All Detergent Residue
Once you’ve finished power washing and the deck is free of grime, it’s time to rinse away all traces of detergent. This crucial step helps in preventing any residual detergent from drying on your deck which may lead to undesirable discoloration or even damage the wood. The simplest and most effective way to do this is with a garden hose. Start rinsing from the same end of your deck where you began power washing, methodically working your way across to ensure no areas are missed. Maintain a steady pressure and use a sweeping motion to wash away the detergent. Continue this process until all detergent residue is thoroughly rinsed off, leaving your deck looking revitalized and sparkling clean.
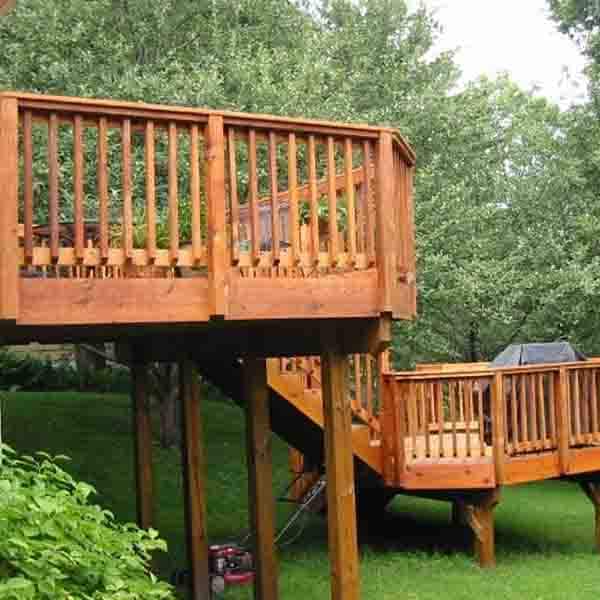
Let Dry Before Adding Stain or Sealer
After the power washing process is complete and all the detergent has been thoroughly rinsed off, it’s time to let your deck dry. This is an important step that should not be rushed. The wood needs to be entirely free from moisture before you apply any type of stain or sealer. If the wood is still damp, the stain or sealer may not adhere correctly which can lead to unsatisfactory results. Typically, it’s best to wait at least 24 hours to allow the deck to fully dry. This time could be more depending on your local weather conditions. After the drying period, your deck is ready for the final beautifying touches – staining or sealing. This enhances the appearance of the deck and offers extra protection against the elements.
Once you’ve achieved the perfect look, all that’s left to do is enjoy your new and improved outdoor space. We hope this guide helped make the power washing process go smoothly! With a few simple tools, some elbow grease, and of course, our handy tips – now you have everything you need to bring out the beauty in your deck once again.
https://www.google.com/maps?cid=17924081274576472323